Creating Virtual Reality Environments for Teaching
Goal
The purpose of this guide is to provide step-by-step instructions for creating virtual reality environments for teaching. In general, the steps involve finding the models that you want to include in the environment, adding them into the site to build the environment, and later publishing the site.
Applications
Below are three applications that can be used to create virtual environments.
Sketchfaba repository of 3D models, many of which can be downloaded free of charge |
Mozilla Spokea free web-based game engine that allows you to build social VR environments |
Mozilla Hubsa WebXR social VR platform that allows people to convene in a shared VR world |
Things to Consider
Before you begin designing and building your VR classroom, it is a good idea to spend some time thinking about how you will use this space. What objectives do you want to meet when teaching in VR? Do you want students to explore and wonder? Do you want students to complete an activity in the VR space? Or perhaps you want students to explore and share with the class their findings. Backward planning ensures objectives are met and real learning can happen. Below is one example.
Roman Archaeological Site Autopsy Example: You would like students to read about Roman urban planning and the different structures that composed a typical roman town (eg. Bath complex, temple, domus, insulae, market etc.). To apply this knowledge, students will spend time exploring an archaeological site in VR and identify each structure based on the archaeological remains.
Step 1: Select Assets in Sketchfab
After you have spent some time considering the type of environment you would like to build and class objectives, it’s time to start building. Begin by searching Sketchfab for downloadable models to incorporate in your virtual environment.
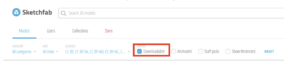
Login to Sketchfab and search for your models (AKA assets). Be sure to filter selection by selecting “downloadable”
General Guidelines for Selecting Assets
Principal and Secondary Assets
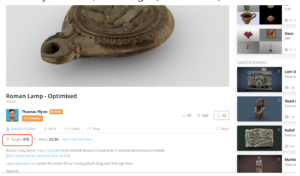
Distinguish between principal and secondary assets. A principal asset will be the main asset of an environment (e.g. Architecture). A secondary asset will be the supplementary objects that are included in your scene. When searching on Sketchfab be sure to select assets that can run smoothly in hubs. Inspect the triangle count. Less is always best! See the image below of a sample asset which is labeled in size.
Asset Targets
Try to aim for the following:
Primary asset: 50,000-150,000 triangles; >4k textures; >100mb file size
Secondary asset: >10,000 triangles, >4k textures; >10mb file size
If a model is too heavy, you can optimize the model using a third party application like RapidCompact to reduce its size. (Separate documentation to come)
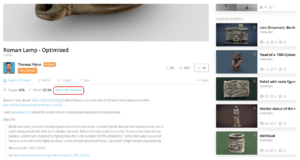
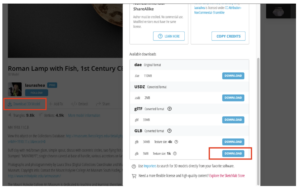
You can find additional details about your model by clicking the “More Model Information” button.

Once you have selected the model, download the GLB file and then open Spoke.
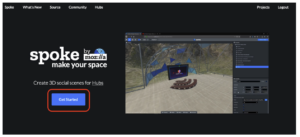
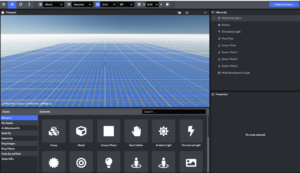
Step 2: Create & Populate your Environment
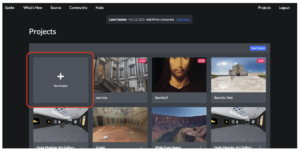
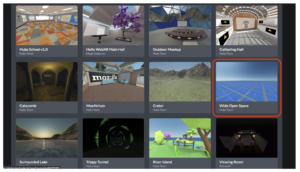
Create a new project and select the desired scene.
The Spoke platform is fairly intuitive. However, please complete the tutorial which will demonstrate many of the features.
When you are ready to upload your custom asset, click “My Assets”

Once the asset is added to your content drawer you can drag and drop it into your scene.
After completing your environment you can publish the scene to Hubs. Click the “Publish to Hubs” button in the upper right corner of Spoke. Follow the ques to publish.
Once published you can “Create Room from Scene” to launch in Hubs and explore on your desktop or share the link to a VR device.
Sample Virtual Learning Environments
Below are several environments that have been created for courses that can be helpful to examine as you build yours.
Giulio Romano’s Sala dei Giganti
Michelangelo’s Vestibule of the Laurentian Library
Bibliography
Here are a variety of articles on 3D environments for classroom teaching.